Creating 3D models with ruby

I'm not sure when or how this idea initially started, but I was so impressed by all the crazy 3D printing stuff out there, that I decided to dive into it and give it a try. I wanted to print a 3D object.
Since I had no clue of how to use 3D modeling software - and I was pretty sure that it's more than just a weekend project to get started - I decided to build on the knowledge and skills I already had. This is why I love to be a developer. We can built websites or robots and don't even have to switch the tools.
So why not create a printable 3D object with ruby? This is why I created the wavefront-obj gem.
Which file format?
I did a lot of research to find a file format that fits my needs best. The requirements are actually pretty simple as I don't need complex texture or animation features by now. All I want is to create points and connect them to surfaces which form the shape of an object.
The Wavefront .obj file won with a fairly good compatibility in the 3D online printing market: it's supported by common 3D modeling software and it even opens in Photoshop (tested with CS5).
A lightweight file format with a simple structure and easy syntax. Here is an example of a very basic file with a triangle:
o triangle
v 0 0 0
v 0 1 0
v 1 0 0
f 1 2 3
The first line defines a new object (o) with the name triangle. Every line below belongs to this object.
line 2-4 create multiple vertices (v) with x, y and z coordinates
line 5 is connecting the created points to a face (f) by using reference numbers of the points. These numbers equal to the order they were defined. Number one is the first point (0,0,0), two the second (0,1,0) and so on... A face can have as many points as you like and you can add multiple faces to create a 3D object by simply adding more lines with face definition.
The rendered result looks like this:
What does the wavefront-obj ruby gem do?
As you can see the structure of a .obj file is very easy to understand, but the daily routine reveals a big downside as well. You have to manage all the points and their associated reference numbers and this ends up in repeatedly upcoming thoughts like: "Did I already use that point? And if so, what was it's reference number again?" I wanted to solve this and create an interface that allows you to simply throw surfaces with points into the scene and let the library handle the point management.
It will take care about file generation as well and provides access to the raw data as a string or exports it as a file to your disk.
How to use it?
The installation is as easy as
gem install wavefront-obj
Afterwards just load the library, create an instance and give your 3D object a name.
require 'wavefront_obj'
cube = WavefrontObj.new
cube.name = "my awesome cube"
To shape the cube you will need to create 6 surfaces with the add_face method, which expects an array of point arrays (containing x, y and z coordinates).
cube.add_face [
  [1, -1, -1],
  [1, -1, 1],
  [-1, -1, 1],
  [-1, -1, -1]
]
cube.add_face [
  [1, 1, -1],
  [-1, 1, -1],
  [-1, 1, 1],
  [1, 1, 1]
]
cube.add_face [
  [1, -1, -1],
  [1, 1, -1],
  [1, 1, 1],
  [1, -1, 1]
]
cube.add_face [
  [1, -1, 1],
  [1, 1, 1],
  [-1, 1, 1],
  [-1, -1, 1]
]
cube.add_face [
  [-1, -1, 1],
  [-1, 1, 1],
  [-1, 1, -1],
  [-1, -1, -1]
]
cube.add_face [
  [1, 1, -1],
  [1, -1, -1],
  [-1, -1, -1],
  [-1, 1, -1]
]
That's it. Let's have a look at what the file content looks like.
puts cube.get_raw_data
This will result in an output like this:
o my awesome cube
v 1 -1 -1
v 1 -1 1
v -1 -1 1
v -1 -1 -1
v 1 1 -1
v -1 1 -1
v -1 1 1
v 1 1 1
f 1 2 3 4
f 5 6 7 8
f 1 5 8 2
f 2 8 7 3
f 3 7 6 4
f 5 1 4 6
Please note that all points that have been used within the add_face method are defined once at the beginning and inserted by their reference numbers automatically. To store the result on your disk, you can use the built-in filehandler and save it with
cube.save "my_awesome_cube.obj"
The rendered file looks like this
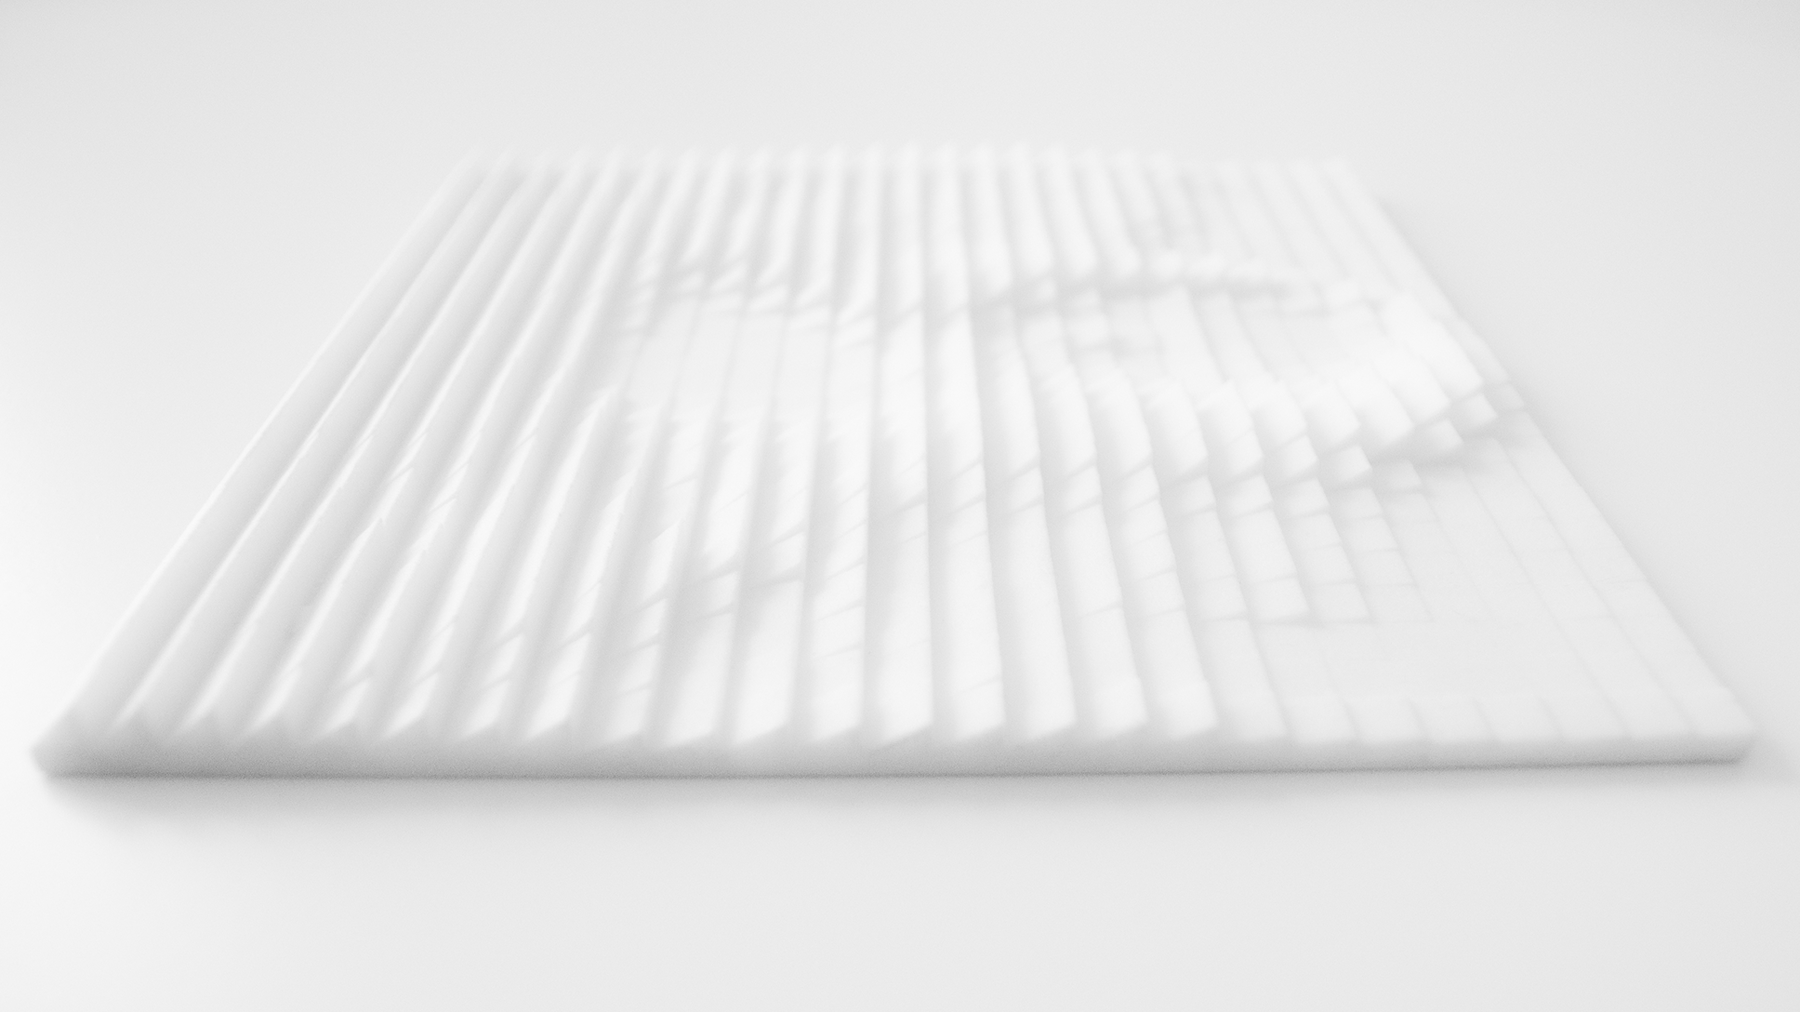
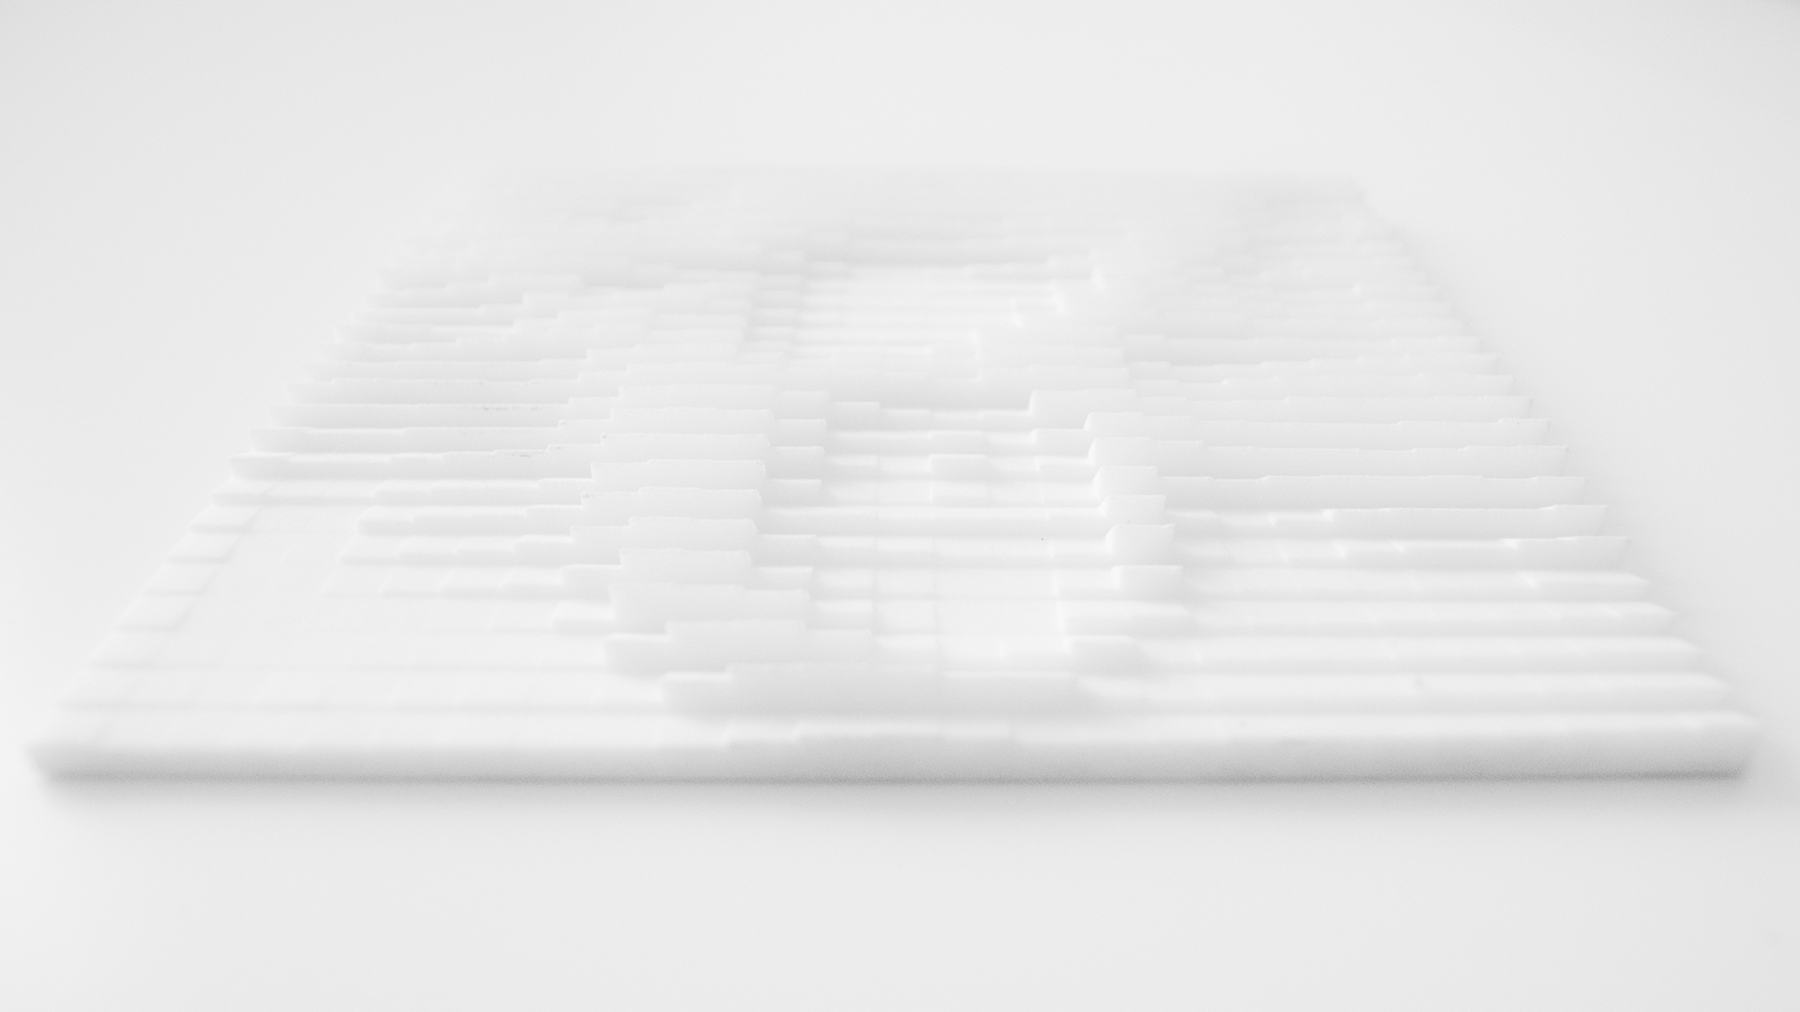
Example project
The explained examples were pretty basic and for simple objects like cubes or triangles you may avoid using a separate library. It just gets handy as the model is growing in terms of complexity.
Here's a sneak preview of what you can do with it, when you sent a generated .obj file to a 3D printer. A separate more detailed article on this topic will follow.

written on 5/24/2013 in programming